How to Add a New Listing in Listing Manager
Follow the steps below to input a new listing into the Listing Manager Add/Edit module.
1. Click Add/Edit from the top navigation menu to access Listing Manager.
2. On the Listing Manager home screen, click the “Add” button on the right side of the screen.

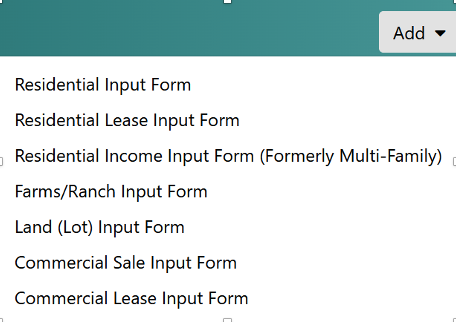
3. Select the Property Type input form for your listing.
4. Under the Location box, begin searching for your property by address, Listing ID, or Parcel ID (APN) and select the correct option.
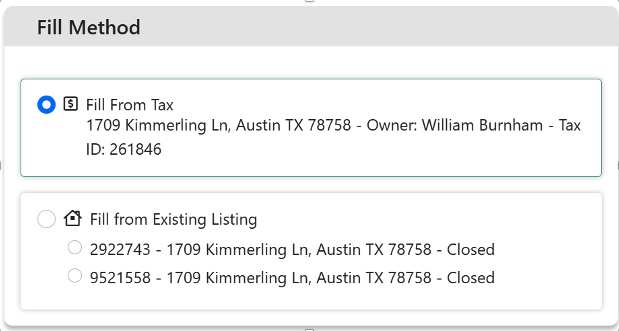
5. Decide to Fill from Tax or Fill from Existing Listing; select “Skip to blank input form” to start with blank listing. Note: The first-listed Previous Listing will be the most recent listing entered into Unlock MLS.
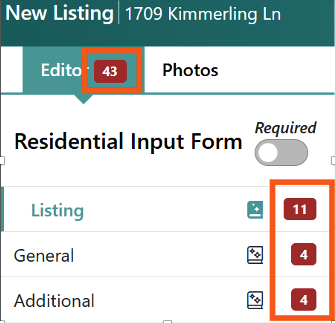
6. To complete your listing, you will need to fill in all of the Required fields; the remaining fields will be shown in red and the remaining fields per section will be shown on the left side of the input form.
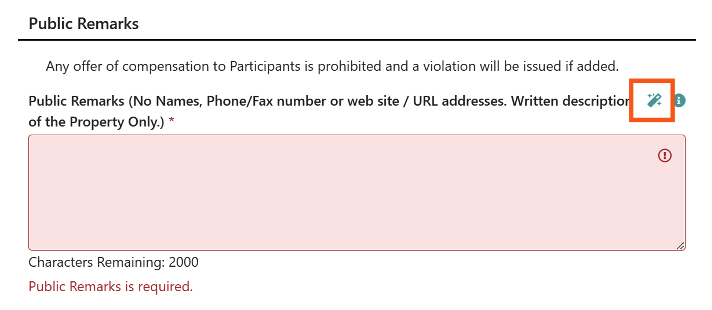
7. To use the AI-powered Public Remarks generation, use the Magic Wand icon on the field (located under the Remarks/Tours/Internet section). Note: The AI-generated description will vary based on the details entered and photos uploaded.
8. To use the new Data Source feature, ensure the Expand Data Source toggle is turned on; when it’s turned on, any field with an available data source (Public Records, Previous Listing, or AI Photos) will show the data underneath the field. Click on a data source option to add it to the field.

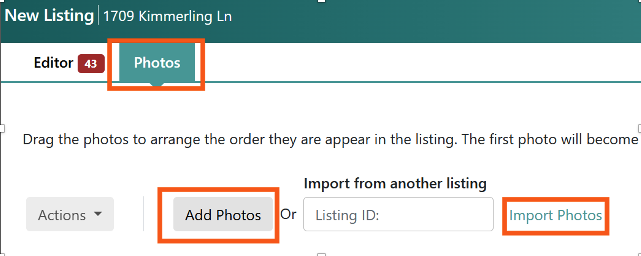
9. To upload photos, select the “Photos” tab next to the Editor tab; select Add Photos to upload photos from your device or Import Photos if you were the listing agent on the Listing ID.
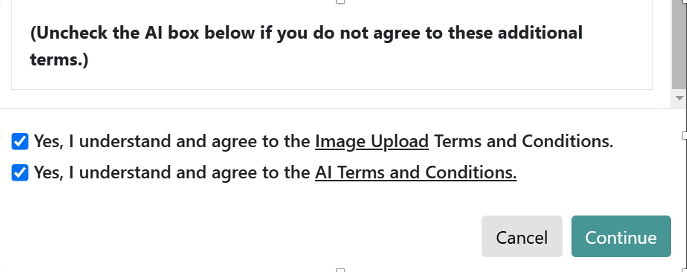
10. To use the AI-powered Photo Tagging and Photo Captions, opt into the optional AI Terms and Conditions.
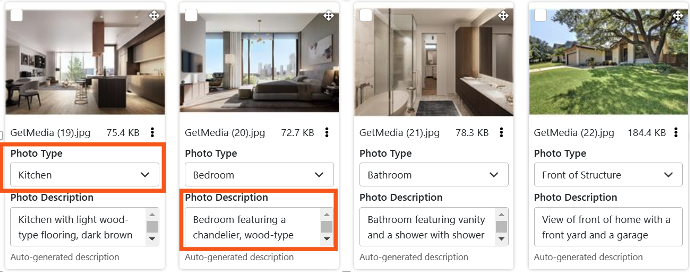
11. The AI-powered Photo Tagging and Captions will appear automatically and editable.
12. To use the AI-powered listing details feature, upload photos and return to the Editor tab. On any field that has a data source icon and can view details from the photos, an “AI Photos” option will appear; click to add these features to your listing.

13. At any point in your listing input, click Save as Incomplete to save an Incomplete draft of a listing; click Publish Listing to submit your listing to Active status; click Cancel Input to exit your listing input progress.

For more information on adding a new listing to Listing Manager with AI, watch this video, or visit the Unlock Opportunity Resource Hub.
